Gardening is a labor of love that extends beyond aesthetics. It’s a powerful bridge connecting us to the natural world, grounding us in life’s cycles and the seasons’ rhythm.
It’s a space where you can find peace, stimulate your senses, and even cultivate your own produce. But above all, gardening is a journey – a fulfilling pursuit that can bring joy, satisfaction, and a profound sense of accomplishment.
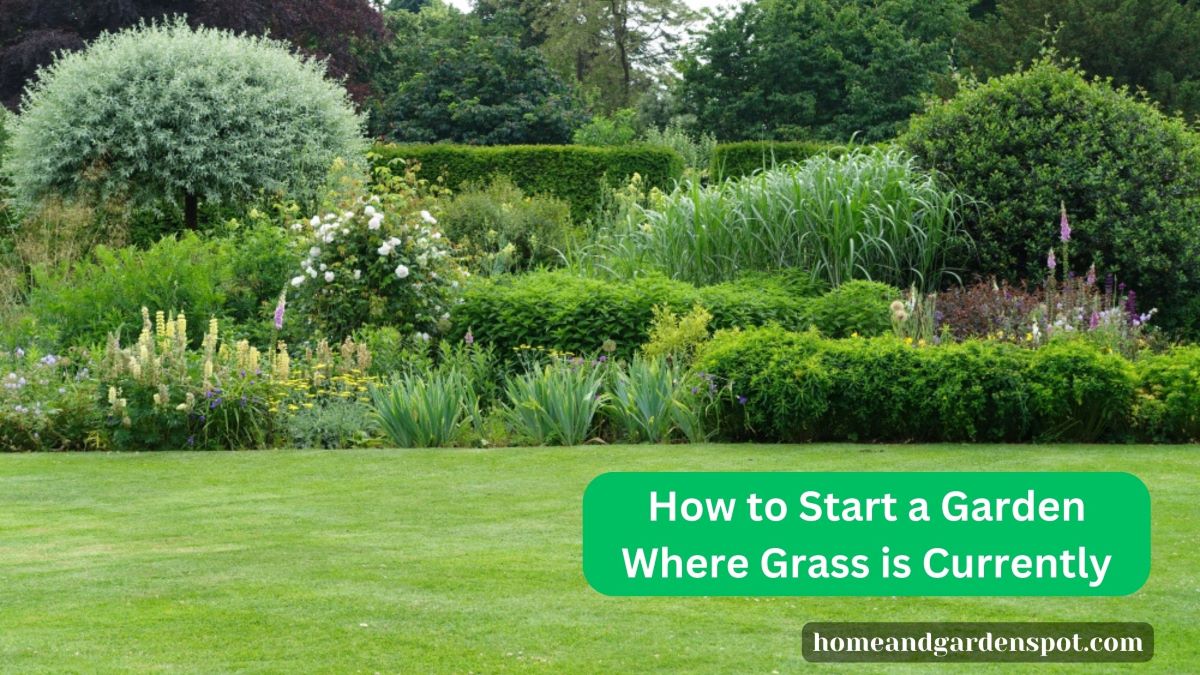
However, starting a garden by transforming a simple, grass-covered plot into a blooming sanctuary of your own is an experience like no other.
As ordinary as it may appear, this patch of green holds the promise of a thriving garden – a canvas waiting to be painted with the vibrant colors of blooming flowers, the lush green of healthy veggies, or the soothing hues of herbs.
In this blog post, we will guide you as you take the leap from a mere admirer of gardens to a gardener in your own right. We’ll navigate together through the process, from the initial planning stage to the last stage.
Steps to Starting a Garden Where Grass is Currently
Step 1: Select the Perfect Spot
The first step in this exciting journey is choosing the ideal garden location. Seek out an area as flat as possible, ensuring the ground is conducive to adequate water drainage.
Remember that most flower and vegetable gardens require at least six hours of direct sunlight each day. So, study the movement of the sun over your yard before settling on the perfect spot.
Step 2: Know Your Soil
The next step is to understand the soil that you will be working with. A self-test kit from a garden store can help determine the nutrient composition and pH balance of your soil. Be sure to follow the instructions on the test kit pack carefully for an accurate assessment.
Step 3: Outline Your Garden
Once you have selected the garden spot, you need to define its boundaries. Use wooden stakes and sturdy string to do this. Drive the stakes into the ground at each corner of the intended garden bed, and then tie the string from stake to stake, effectively outlining your future garden.
Step 4: Sod Removal
With your garden area outlined, it’s time to remove the existing grass. Using a sharp spade, cut into the sod, digging underneath it to sever the grass from the soil. To simplify the task, consider cutting the sod into small, manageable sections.
Step 5: Tilling the Ground
Once the sod is removed, the soil underneath needs to be loosened and aerated – a process known as tilling. This involves breaking up the soil to a depth of 8 to 12 inches and removing any remaining rocks, weeds, roots, and other debris. Getting a good, clean bed might require several rounds with a garden tiller.
Step 6: Raking
After tilling the soil, go over the garden bed with a steel rake. This will help you remove any additional debris that may have been missed during the tilling process.
Step 7: Composting
Now, don’t toss that removed sod into the garbage just yet! Instead, add it to a compost pile. Given time, it will break down into nutrient-rich compost. However, ensure that you shake out as much soil as possible from the grassroots before composting to avoid the grass growing within your compost pile.
Step 8: Feed Your Soil
Now, let’s turn our attention back to the garden bed. Depending upon the results of your soil test, your soil may need additional nutrients or organic materials. Spread an even layer of these amendments – such as compost, peat, lime, soda ash, or iron sulfate – over the garden bed.
Step 9: Another Round of Tilling
Once your soil amendments are applied, you’ll need to mix them into the soil with a tiller or shovel. This might need to be done multiple times to ensure the amendments are fully incorporated into the soil.
Step 10: Allow the Soil to Rest
After this flurry of activity, it’s time to let the soil rest for one to two weeks. This rest period allows the nutrients to permeate the soil and the soil itself to settle. Just before planting, use a steel rake to smooth out the soil surface.
Step 11: Edge Your Garden
Next, create a clear boundary for your garden using landscape edging, field stones, bricks, or landscape timbers. This will not only define your garden visually but will also protect your plants from lawnmowers and weed trimmers.
Step 12: Time to Plant
Now for the moment, you’ve been waiting for – planting! Depending on what you’ve chosen to grow, follow the specific planting guidelines for your flowers or vegetables.
Step 13: Mulching
After planting, apply 3 to 4 inches of organic mulch around your plants and between the rows. Mulching helps to suppress weed growth and retain soil moisture. As it breaks down, organic mulch also adds valuable nutrients back into the soil.
Step 14: Plant a Cover Crop
Lastly, after your final fall harvest, consider planting a cover crop. These cold-hardy plants protect and enrich your soil over the winter as they decay. Choices include hairy vetch, cereal rye, oats, or winter peas.
Conclusion
Starting a garden where grass currently exists is a fulfilling journey of transformation that requires a blend of patience, planning, and a bit of elbow grease.
From identifying the perfect sunlit spot to testing and amending your soil, each step is crucial in preparing for a successful, bountiful garden.
The physical tasks of removing the existing grass, tilling the soil, and incorporating organic matter and nutrients lay the groundwork, both literally and figuratively, for a thriving garden.
After giving your soil time to rest and adjust, you get to the exciting part of planting your chosen seeds or seedlings.
Once planted, proper care, including mulching and winterizing your garden with cover crops, ensures your garden continues to thrive across seasons.
By adhering to this carefully mapped-out process, you can transform a simple patch of grass into a flourishing, life-filled garden space.
Leave a Reply