Setting up a commercial compost system can be expensive, especially if you’re just starting a garden.
But thankfully, crafting your own compost bin is easier and cheaper than you think.
Whether you’re a gardening newbie or a seasoned green thumb, these DIY ideas will help you transform kitchen scraps and yard waste into nutrient-rich compost gold.
Here are some DIY compost bin ideas you can try at home:
1. Plastic Storage Bin Compost Bin
Turning your old plastic storage bin into a composting at home goldmine is easier than you think.
Not only will you be reducing your waste, but you’ll also create nutrient-rich soil for your plants.
Materials Needed: A plastic storage bin with a tight-fitting lid, and a drill.
Instructions:
- Preparation: Find a plastic bin that’s big enough to hold your kitchen scraps and yard waste, but still easy to manage. Make sure it’s opaque to keep the light out, which helps the composting process.
- Drill Holes: Grab your drill and make some small holes (about ¼ inch) in the bottom and sides of the bin. These holes are like tiny windows for your compost, letting in air and helping everything break down nicely.
- Start Composting: Choose a spot outside for your new compost home. Somewhere with good airflow and drainage is ideal. Begin layering organic waste materials such as fruit and vegetable scraps, coffee grounds, leaves, and grass clippings. Alternate between green (nitrogen-rich) and brown (carbon-rich) materials for balanced composting.
- Maintenance: Give your compost a good stir every now and then to keep things aerated. Make sure it’s damp but not soaking wet. In a few months, you’ll have beautiful, homemade compost to nourish your plants.
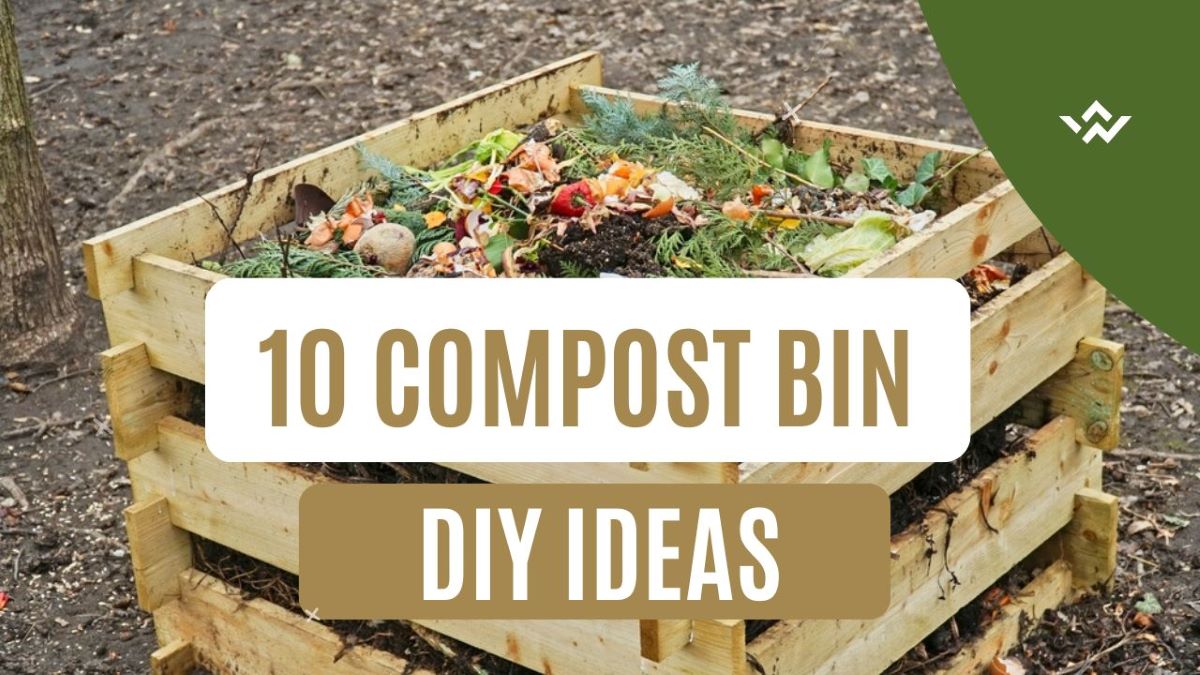
2. Wooden Pallet Compost Bin
Your old wooden pallets can be transformed into a fantastic compost bin.
It’s super easy, and it’s a great way to give new life to something that would usually be tossed aside.
The beauty of using pallets is that they let the compost breathe.
That means those helpful little critters like worms and microbes can easily get in there and do their magic, turning your kitchen scraps into nutrient-rich compost for your plants.
Plus, it’s a simple structure that keeps your compost pile neat and tidy.
Materials Needed: Four wooden pallets, nails or screws, hammer or screwdriver, optional: hinges for a door.
Instructions:
- Assembly: Prop up your four pallets to form a square or rectangle. Make sure they’re nice and stable by securing the corners with nails or screws.
- Optional Door: Feeling fancy? Attach one pallet with hinges to create a door for easy access.
- Location: Place the bin directly on the soil to allow worms and beneficial organisms to access the compost.
- Start Composting: Start adding your kitchen scraps and brown materials (like dried leaves) in layers. The pallet slats let in plenty of air, which is key for the composting process.
- Maintenance: Give your compost a good stir every now and then to speed things up and prevent any unpleasant smells. A little moisture is good, so add water if it’s too dry.

3. Wire Mesh
A wire mesh compost bin is a super simple and affordable way to turn your kitchen scraps and yard waste into nutrient-rich soil.
Materials Needed: Wire mesh (hardware cloth), wire cutters, stakes or heavy-duty zip ties, optional: landscape fabric.
Instructions:
- Form the Bin: Cut your wire mesh to the size you want and bend it into a cylinder or square. Use those stakes or zip ties to keep it in place.
- Optional Lining: If you’re feeling fancy, line the inside with landscape fabric. This will help stop tiny bits of compost from escaping.
- Location: Find a shady spot in your yard with good drainage. This is where your compost home will be.
- Start Composting: Toss in your kitchen scraps and garden materials. Mix up those greens (like grass clippings) and browns (like dried leaves) for a happy compost pile. The wire mesh lets plenty of air in, which helps things break down faster.
- Maintenance: Give your compost a good stir every now and then to let it breathe. And if it starts to feel dry, give it a drink of water.
4. Trash Can Compost Bin
Trash can compost is equally effective.
Plastic or metal?
Both work great!
Plastic is cheaper and easier to handle, while metal is a bit pricier but built to last.
Materials Needed: Metal or plastic trash can with a tight-fitting lid, drill, optional: bungee cords.
Instructions:
- Drill Holes: Grab your trusty drill and add some breathing room for your compost. Poke holes in the bottom and sides to let air in and excess water out.
- Location: Your compost loves a little sunshine! Choose a corner of your yard that gets some sunlight.
- Start Composting: Add compostable materials to the trash can, alternating layers of green and brown waste. Secure the lid tightly.
- Optional: Keep critters out and odors in with a tight-fitting lid. You can even add bungee cords for extra security.
- Maintenance: Every now and then, give your compost a good mix. It’s like a little workout for your compost, helping it break down faster.

For more information on composting, check out the following blog posts:
Why Do Compost Piles Get Warmer?
Hot vs. Cold Composting: Which is Right for Your Garden?
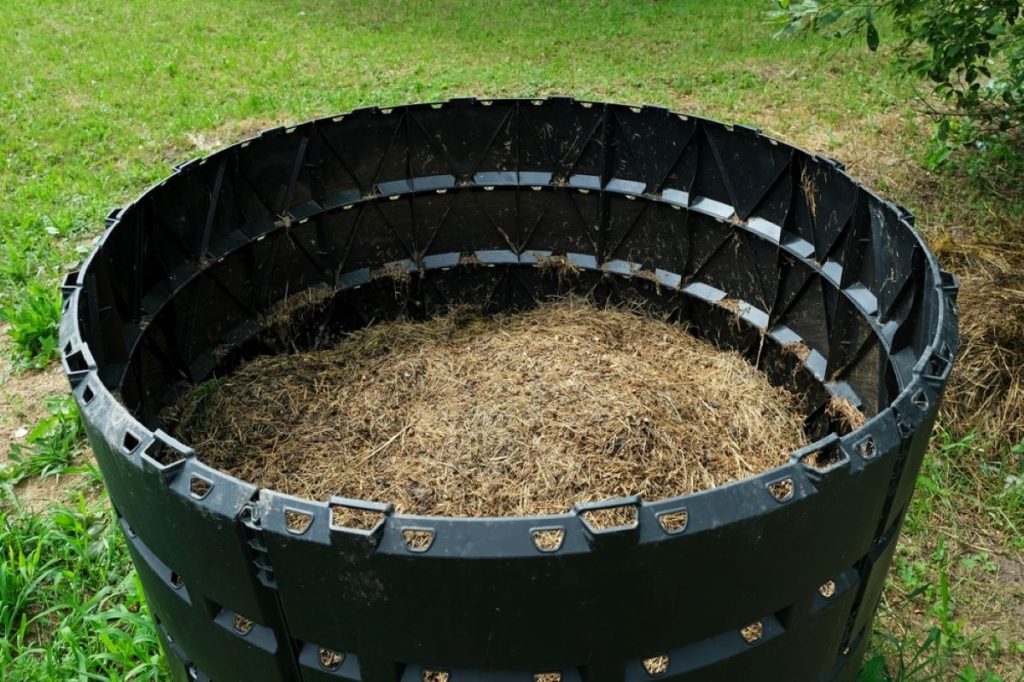
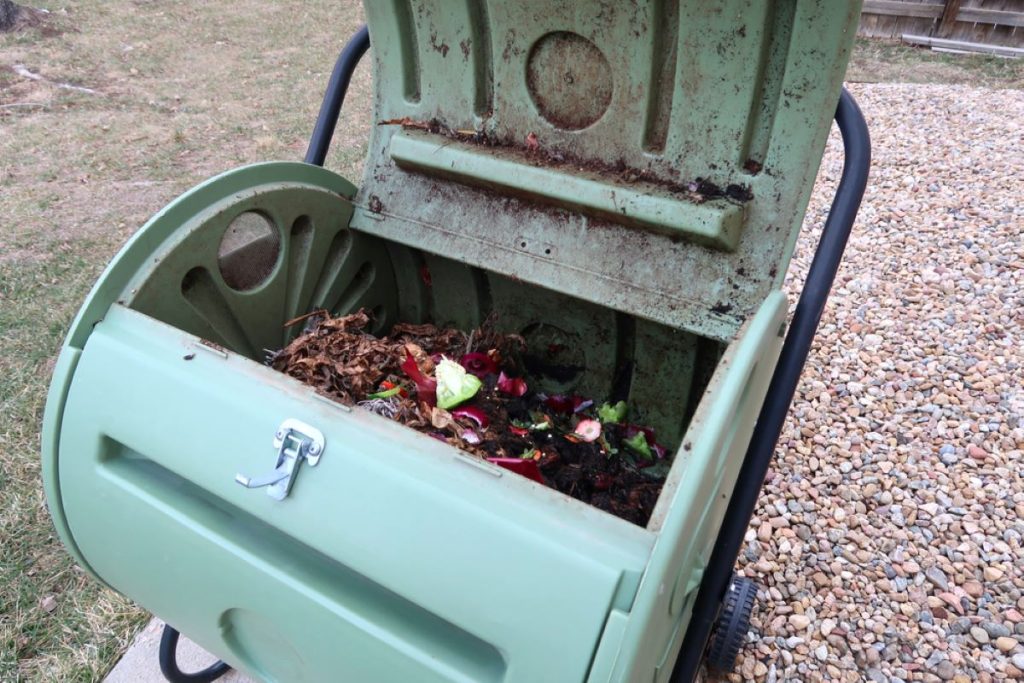
5. Compost Tumbler
A DIY compost tumbler is a fantastic way to speed up the composting process and make turning that pile a breeze.
Materials Needed: A large plastic or metal barrel with a lid, metal rod or sturdy wooden dowel, drill, optional: handles.
Instructions:
- Prepare the Barrel: Find a barrel that’s roomy enough to hold a good amount of compost. Poke plenty of holes in the sides, bottom, and lid to let air in – it’s like tiny windows for your compost to breathe!
- Insert the Rod: Stick a rod or dowel through the middle of the barrel. This will be the backbone of your tumbler, helping you spin it around.
- Mount the Barrel: Find a spot to set up your barrel where it can spin freely. You can even add handles for a better grip when it’s time to turn.
- Start Composting: Add organic waste materials to the barrel, balancing green and brown materials. Secure the lid tightly.
- Maintenance: Every few days, give your barrel a good spin. This mixes everything up and helps your compost break down faster. With a little patience, you’ll have nutrient-rich compost ready for your garden in no time!
6. Cinder Block
Materials Needed: Cinder blocks, landscape fabric (optional).
Instructions:
- Build the Bin: Arrange cinder blocks in a square or rectangular shape, stacking them to form the bin walls. Gaps between blocks allow airflow.
- Lining (Optional): Add landscape fabric inside for better containment.
- Composting: Start adding a mix of green and brown materials in layers.
- Maintenance: Turn the compost regularly and water as needed to maintain moisture.
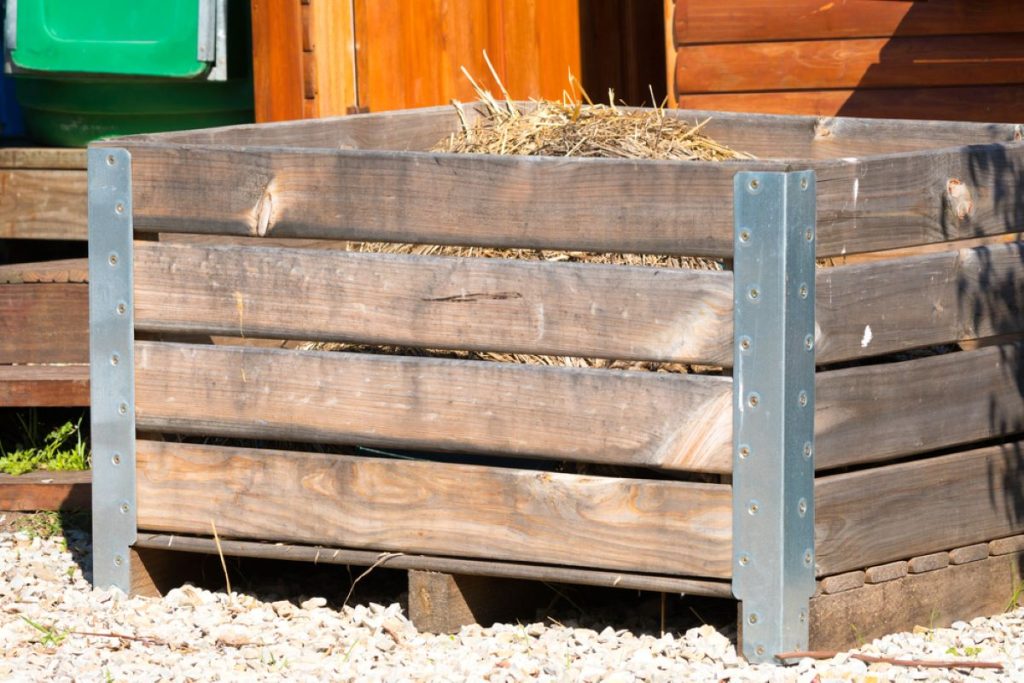
7. Wooden Crate Compost Bin
Wooden crate compost bins are easy to set up.
The materials you need are basic everyday items.
Materials Needed: Wooden crates, screws or nails, hinges (optional).
Instructions:
- Assembly: Secure several wooden crates together, leaving gaps for ventilation.
- Optional Door: Attach one crate with hinges for easier access to the compost.
- Placement: Position the bin on the ground in a shaded area.
- Composting: Layer green and brown compostable materials, alternating as you fill the bin.
- Maintenance: Regularly turn and water the compost to keep it decomposing efficiently.
8. Tire Compost Bin
Creating a tire compost bin is super easy!
You don’t need any special skills or fancy tools.
Just grab a few old tires and fill them up with your compost.
Best of all, it won’t cost you a dime!
Plus, putting it directly on the ground helps your compost break down faster.
Materials Needed: Old tires (three to four), drill, wire mesh (optional).
Instructions:
- Stack Tires: Arrange the tires in a stack to create the bin. Drill holes in the tires for airflow.
- Optional Lining: Line the inside with wire mesh to prevent materials from escaping.
- Composting: Begin layering compostable materials inside the tire stack, alternating between greens and browns.
- Maintenance: Rotate and turn the compost periodically by lifting and rearranging the tires, ensuring proper decomposition.
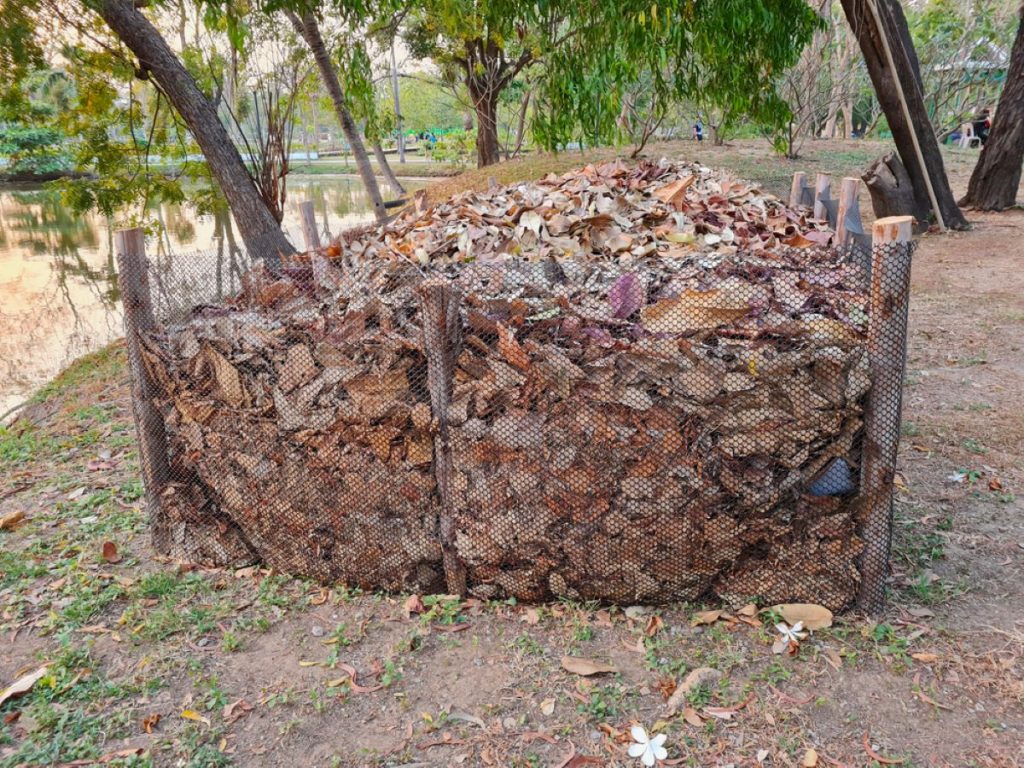
9. Chicken Wire Compost Bin
Here is another DIY compost bin you can try for your home garden.
A chicken wire compost bin!
This super simple setup is perfect for those who love to DIY and want to save money.
You can shape it to fit any nook or cranny in your garden.
And, it’s great for turning those pesky grass clippings and fallen leaves into nutrient-rich compost for your plants.
Materials Needed: Chicken wire, wire cutters, stakes, zip ties.
Instructions:
- Form the Bin: Cut and shape the chicken wire into a cylinder or rectangular bin, securing the ends with stakes or zip ties.
- Location: Place the bin on well-drained ground.
- Composting: Begin adding compostable materials in layers, ensuring a balance of greens and browns.
- Maintenance: Turn the compost regularly to promote even decomposition.
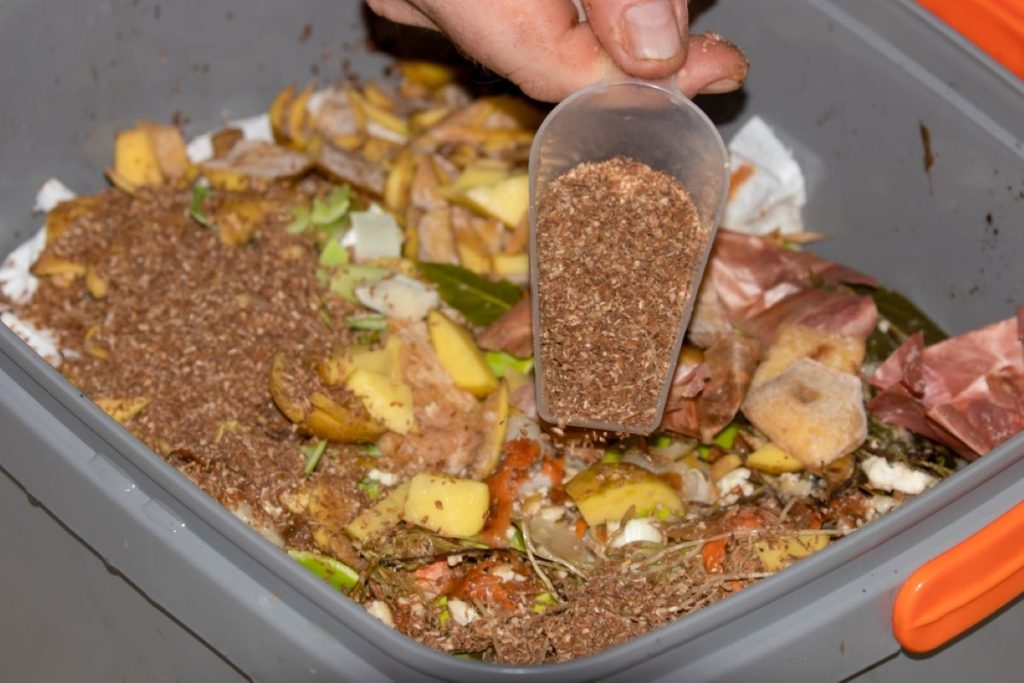
10. Bokashi Compost Bin
Bokashi compost bins are particularly good for slow-decomposing organic materials like eggs, dairy etc.
Instead of rotting and smelling bad, these bins use a special process called anaerobic fermentation.
It’s like turning your food scraps into a supercharged pre-compost without any stinky surprises!
Materials Needed: Bokashi bin kit (includes bin with spigot and Bokashi bran), food scraps.
Instructions:
- Add Scraps: Place food scraps in the Bokashi bin, pressing down to remove air.
- Sprinkle Bran: After adding scraps, sprinkle Bokashi bran to aid fermentation.
- Seal the Bin: Ensure the bin is airtight and allow the contents to ferment for 10–14 days.
- Drain Liquid: Use the spigot to drain the liquid (Bokashi tea), which can be diluted and used as fertilizer.
- Bury or Compost: After fermentation, bury the Bokashi compost in the soil or add it to a traditional compost bin for further decomposition.
Conclusion
Creating your own compost bin doesn’t have to be a big deal!
You can easily whip up a compost pile using everyday items like old tires, chicken wire, or even wooden pallets.
Not only is it super simple to do, but it’s also easy on your wallet.
Want to know more about composting?
Check out my blog post on how you use your everyday flour in your compost.
Leave a Reply