Composting is a fundamental practice for gardeners because it offers numerous benefits. In my experience, composting helps reduce waste and lowers the burden on landfills.
Also, compost enriches soil with essential nutrients, enhances water retention, promotes beneficial microorganisms, and suppresses diseases and pests.
All these advantages contribute to healthier plants and increased crop yields, making composting an indispensable tool.
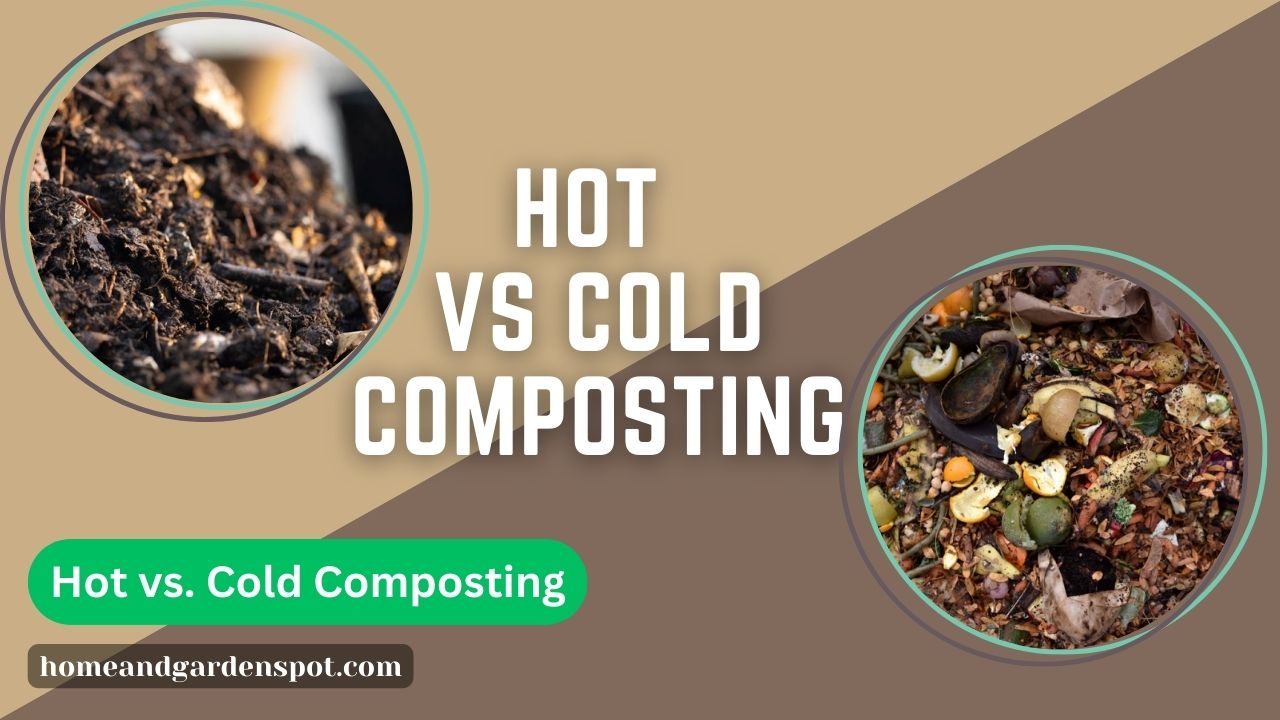
However, there are two primary methods of composting: hot composting and cold composting. Each has its own set of characteristics and requirements.
The main differences between the two methods center on their mode of setting up ad usage.
Hot composting relies on maintaining higher temperatures to accelerate the decomposition process, while cold composting allows nature to take its course with less intervention.
In this blog post, I will explore the differences between these methods and how to choose the right one for your garden’s needs.

What’s The Difference Between Cold And Hot Compost?
I will be discussing the various differences between these two methods while making a detailed comparison based on four main factors, which are:
1. Their decomposition process
2. Temperature consideration
3. How they are being maintained
4. The nutrient level of compost
1. Speed of Decomposition
Hot composting is an aerobic process using heat to rapidly decompose organic waste.
In contrast, cold composting is an anaerobic process where microorganisms slowly ferment organic waste. As a result, hot composting is faster, while cold composting is slower.
● Hot Composting
Think of hot composting as the high-speed express lane of composting. It’s like a hot oven that quickly bakes organic waste into compost.
For example, if you were to add a mix of kitchen scraps (greens) and shredded newspaper (browns) to your hot compost pile and maintain the right conditions, you might have usable compost in as little as 1-3 months.
● Cold Composting
Cold composting is more like a slow cooker for your organic waste. It takes its time to break down materials.
If you were to start a cold compost pile and leave it without much intervention, it might take 6 months to a year or even longer before you have fully matured compost.
Cold composting is a patient gardener’s method, ideal for those who don’t mind waiting for nature to work its magic.
2. They Have Different Temperature Considerations
● Hot Composting
The heat generated by the composting process can be substantial, sometimes reaching temperatures of 130-160°F (54-71°C).
This heat helps kill weed seeds and pathogens, making your compost safer in the garden. It’s like a microbial sauna that speeds up decomposition.
● Cold Composting
In contrast, cold composting doesn’t rely on high temperatures. It’s more like a relaxed, open-air gathering of microorganisms.
While it may not get as hot, it’s still effective at breaking down organic matter over time. It’s like a leisurely stroll through the park for microorganisms, and it can be suitable for gardeners who prefer a hands-off approach.
3. They Require Different Maintenance Efforts
● Hot Composting
You must be actively involved to keep your hot compost pile cooking. Turning the pile regularly (every few days to a week) is essential to aerate it and distribute heat.
You’ll also need to monitor moisture levels and maintain the right balance of greens and browns. Hot composting is like tending to a garden that needs frequent attention.
● Cold Composting
On the other hand, cold composting is like a low-maintenance pet. You can add organic waste to the pile as it accumulates, and you don’t need to worry too much about turning it or maintaining specific conditions.
It’s a more laid-back approach to composting, ideal for those with limited time or who prefer a hands-off method.
4. They Retain Nutrients in Different Ways
● Hot Composting
While hot composting produces nutrient-rich compost, the accelerated decomposition process may lead to some nutrient loss.
For instance, some of the nitrogen in your greens may escape as ammonia gas if not properly managed. However, the compost is still valuable and can significantly improve soil fertility.
● Cold Composting
Cold composting’s slower pace can help retain more nutrients. Since the process is less intense, fewer nutrients are lost during decomposition.
While the nutrient content may not be as high as hot compost, it’s still valuable to your garden soil.
Advantages of Hot Composting
Hot composting offers several advantages over cold composting:
1. It Decomposes On Time
Hot composting is an aerobic process that uses heat to rapidly decompose organic waste. This method can break down materials more quickly compared to cold composting.
2. It Eliminates Pathogens
The high temperatures reached during hot composting can help eliminate harmful pathogens and weed seeds. This makes the resulting compost safer to use in gardens and reduces the risk of spreading diseases or unwanted plants.
3. Its High Temperature Helps Break Down Organic Effectively
Hot composting requires maintaining a higher temperature range, typically between 130°F and 160°F (54°C and 71°C). This elevated temperature promotes the growth of thermophilic microorganisms that break down organic matter more efficiently.
4. Faster Result
Hot composting can yield usable compost in a shorter period due to the accelerated decomposition process. This benefits gardeners who want to incorporate nutrient-rich compost into their soil sooner.
How to Start Hot Composting
Hot composting is an exciting way to transform organic waste into nutrient-rich compost. Here’s a step-by-step guide to help you get started:
1. Choose a Compost Bin or Pile
Select a compost bin or designate an area for your compost pile. A pile or bin that is at least four feet wide by four feet high is recommended for hot composting.
Ensure the location receives ample sunlight, as shade can cool the pile and slow down the process.
2. Gather Organic Materials
Collect a large amount of organic matter with the right carbon-to-nitrogen ratio. Aim for a ratio of 25 parts carbon to one part nitrogen.
Carbon-rich ingredients include straw, dry corn stalks, shredded paper, small twigs, and dry fall leaves.
Nitrogen-rich ingredients include grass clippings, fruit and vegetable scraps, weeds (without seeds), deadheads/trimmings from garden plants, coffee grounds, tea bags, and farm animal manures.
3. Chop and Mix Ingredients
Finely chop the organic materials to expedite decomposition. You can use a lawnmower to break them down into smaller pieces.
Add a few shovelfuls of finished compost as an activator. Mixing the ingredients and ensuring even moisture distribution is important.
4. Monitor Temperature and Moisture
The optimal temperature for microbial activity in hot composting is between 130°F and 140°F. You can measure this with a soil/compost thermometer or by feeling the pile.
Regularly check the moisture level and maintain it evenly moist throughout the process.
5. Turn the Pile Regularly
Turning the pile helps introduce oxygen and undecomposed material into the center, promoting heating and decomposition. Aim to turn the pile every few days or at least once a week.
6. Maintain the Process
Continue monitoring temperature moisture and turning the pile regularly until decomposition is complete. The duration may vary depending on materials, environmental conditions, and maintenance efforts.
Common Mistakes to Avoid in Hot Composting
Here are some common mistakes to avoid in hot composting:
1. Imbalanced Carbon-to-Nitrogen Ratio
Maintaining the proper ratio of carbon-rich (browns) to nitrogen-rich (greens) materials is crucial for successful hot composting.
An ideal ratio is approximately 25 parts carbon to one part nitrogen. Failing to achieve this balance can result in a slow or incomplete decomposition process. Remember to include a variety of organic materials to ensure a healthy compost pile.
2. Insufficient Moisture
Adequate moisture is essential for microbial activity and decomposition. If the compost pile becomes too dry, decomposition slows down.
Conversely, if it becomes too wet, it may become anaerobic and produce unpleasant odors. Aim for a moisture level similar to that of a damp sponge.
3. Lack of Aeration
Oxygen is necessary for the aerobic microorganisms responsible for hot composting.
Failing to regularly turn or aerate the pile can lead to anaerobic conditions and slower decomposition. Aim to turn the pile every few days or at least once a week.
4. Inadequate Particle Size
Chopping or shredding organic materials into smaller pieces accelerates decomposition by increasing the surface area available for microbial activity.
Large, bulky materials take longer to break down and may result in uneven decomposition.
5. Adding Invasive Weeds or Diseased Plants
Avoid adding weeds that have gone to seed or plants infected with diseases to your compost pile.
When you use the finished compost, these can survive the composting process and reintroduce weed seeds or pathogens into your garden.
6. Overloading with Difficult-to-Decompose Materials
Some materials, such as woody branches, corn cobs, or avocado pits, take longer to decompose than other organic matter.
Including too many of these items can slow down the overall decomposition process.
7. Using Chemicals or Synthetic Materials
Hot composting relies on natural microbial activity. Avoid adding chemicals, synthetic fertilizers, treated wood, or non-biodegradable materials to your compost pile.
These can disrupt the natural decomposition process and potentially harm beneficial organisms.
Advantages of Cold Composting
1. Simplicity
Cold composting is a straightforward and low-maintenance method. It requires less effort and involvement compared to hot composting.
2. Less Monitoring
Cold composting doesn’t require regular temperature monitoring or turning off the pile. This makes it a convenient option for those who prefer a hands-off approach.
3. Suitable for Small Spaces
Cold composting can be done in small spaces like balconies or gardens. It doesn’t require a large compost pile or specific equipment.
4. No Odor Concerns
Cold composting typically produces less odor compared to hot composting. This can be beneficial for individuals concerned about unpleasant smells.
5. Longer Decomposition Time
While slower than hot composting, cold composting allows organic materials to break down naturally over time. This can result in a more gradual release of nutrients into the soil.
6. Less Attention Required
Cold composting doesn’t require frequent turning or maintenance. Once the materials are added to the pile, nature takes its course with minimal intervention.
How to Start Cold Composting
1. Choose a Location
Find a suitable spot in your garden or backyard for your compost pile. Ensure that it is easily accessible and has good drainage.
2. Prepare the Ground
Clear the area of any debris or vegetation. Start with bare ground and layer some brown material, such as leaves, small branches, dry lawn clippings, newspaper, or torn-up cardboard, to a depth of about six inches.
3. Add Organic Waste
Begin adding your kitchen scraps and yard waste to the compost pile. Green materials include fruit and vegetable scraps, coffee grounds, eggshells, and cooked grains without meat.
Brown materials include dead leaves, dry lawn clippings, and shredded newspaper or cardboard.
4. Maintain the Pile
Periodically turn the compost pile with a pitchfork or shovel to aerate it and speed up the decomposition process. Keep the pile moist but not overly wet by watering it occasionally.
5. Wait for Compost
Over time, bacteria and microorganisms will break down the organic matter into nutrient-rich compost. The process can take anywhere from several months to a year.
Common Mistakes to Avoid When Cold Composting
1. Not Composting at All
The biggest mistake you could make is not composting at all. Composting is a great way to return nutrients to the garden ecosystem, and there is a suitable method for every situation. 2.
2. Choosing the Wrong Composting Method
Choosing the right composting method for your needs and location is important.
Various options are available, such as cold-composting compost heaps, bins or containers, insulated heaps or bins for hot composting, vermicomposting, compost tumblers, and Bokashi buckets.
3. Putting the Composting System in the Wrong Place
Ensure that you place your composting system in a suitable location. Avoid hiding it behind a shed and consider environmental conditions, proximity to growing areas, and other garden parts.
4. Adding Inappropriate Materials
Avoid putting meat, cheese, oils, bones, pet waste, charcoal, ashes, sick or diseased plants, and plants treated with pesticides or herbicides in your compost pile.
5. Not Maintaining Moisture Levels
Keep the pile moist but not overly wet by watering it occasionally.
6. Using Only Greens or Browns
In your compost pile, achieve a good balance of green (nitrogen-rich) and brown (carbon-rich) materials. Too much of either can lead to issues.
7. Not Waiting for Compost
The process of decomposition can take several months to a year. Be patient and allow bacteria and microorganisms to break down the organic matter into nutrient-rich compost.
Factors to Consider Before Choosing Between Hot and Cold Composting
When choosing the right composting method, there are several factors to consider. Here are some key points to help you make an informed decision:
1. Time Available
Hot composting generally requires more time and effort compared to cold composting. Cold composting might be a better choice if you have limited time or prefer a low-maintenance approach.
2. Available Space
Hot composting often requires larger space and specific structures like compost bins or tumblers. If you have limited space, cold composting can be done in a simple pile or container.
3. Desired Composting Goals
Consider your goals for composting. Hot composting is recommended if you want faster decomposition and higher temperatures to kill weed seeds and pathogens.
On the other hand, if you prioritize simplicity and don’t mind a slower decomposition process, cold composting can still yield nutrient-rich soil.
Examples of scenarios where hot composting is ideal:
- When you have a large amount of organic waste and want to produce compost quickly.
- When you want to kill weed seeds and pathogens effectively.
- When you have enough space for a dedicated compost pile or bin.
- When you are willing to monitor and maintain the compost pile regularly.
Examples of scenarios where cold composting is ideal:
- When you have limited time or prefer a low-maintenance approach.
- When you have limited space and want to use a small container or pile.
- When you don’t mind a slower decomposition process and are not concerned about killing weed seeds or pathogens.
Conclusion
Hot composting is a rapid, high-temperature process requiring active management and yielding quicker results.
In contrast, cold composting is a slower, low-maintenance approach that lets nature take its course over a more extended period.
Both methods offer valuable compost for your garden but cater to different preferences and levels of involvement.
Whether you choose hot or cold composting, the most important message is to start composting in your garden.
Composting not only reduces waste and lessens your environmental impact but also provides your garden with a rich source of nutrients, improved soil structure, and enhanced plant growth.
Leave a Reply